Last Updated on
Okay, so if you’ve made it to this post then you should have already read the previous two posts in this series: How To Start A Successful Blog For Your Business and Choosing A Domain Name For Your Business Blog. If you haven’t, go back and read those first. Then jump back to this post, where I’ll be giving you a step-by-step guide for registering a domain name and setting up hosting for your blog.
I’m actually going to let you follow along as I do this for MYSELF. I’m toying with the idea of starting a local handyman service as a complement to my other business interests, and so you’re about to get an exclusive peek over my shoulder as I go through the process of starting up MY new blog.
Step 1: Take out a pen and pad and write down at least five ideas for your blog’s domain name. Remember the general guidelines I laid out in my previous post. Using my own rules I came up with these five:
- CincinnatiHandyman.com
- CincinnatiHandymanService.com
- CincinnatiHandymanServices.com
- HesterHandymanCincinnati.com
- TheCincinnatiHandyman.com
Step 2: Click here to go to Bluehost.com. The landing page I’m sending you to should look similar to this:
 Click the green button that says “get started now”.
Step 3: Select the hosting plan that best suits your needs. The starter package is good enough for what we’re trying to do here, but if you will be starting more than one blog (if you have more than one business, for example) then it would be smart to get the plus or business pro plan:
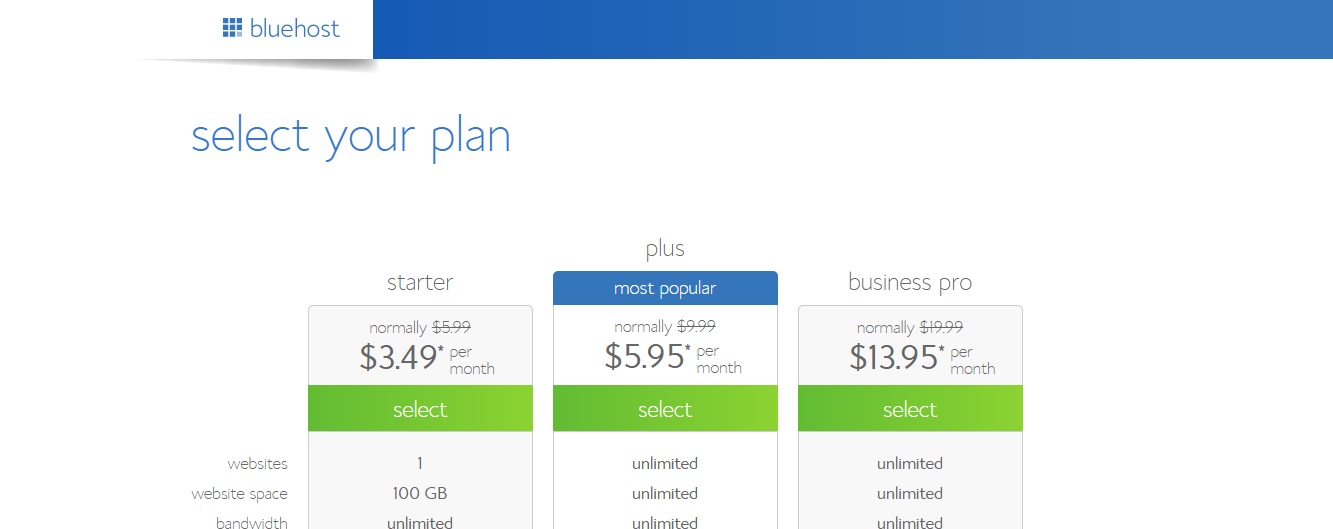 For my new blog I’ll be selecting the starter plan.
Step 4: Register your free domain name. In the left box titled “new domain”, start entering the domain names that you came up with in step one. Bluehost will tell you which names are available and which ones have already been registered by someone else.
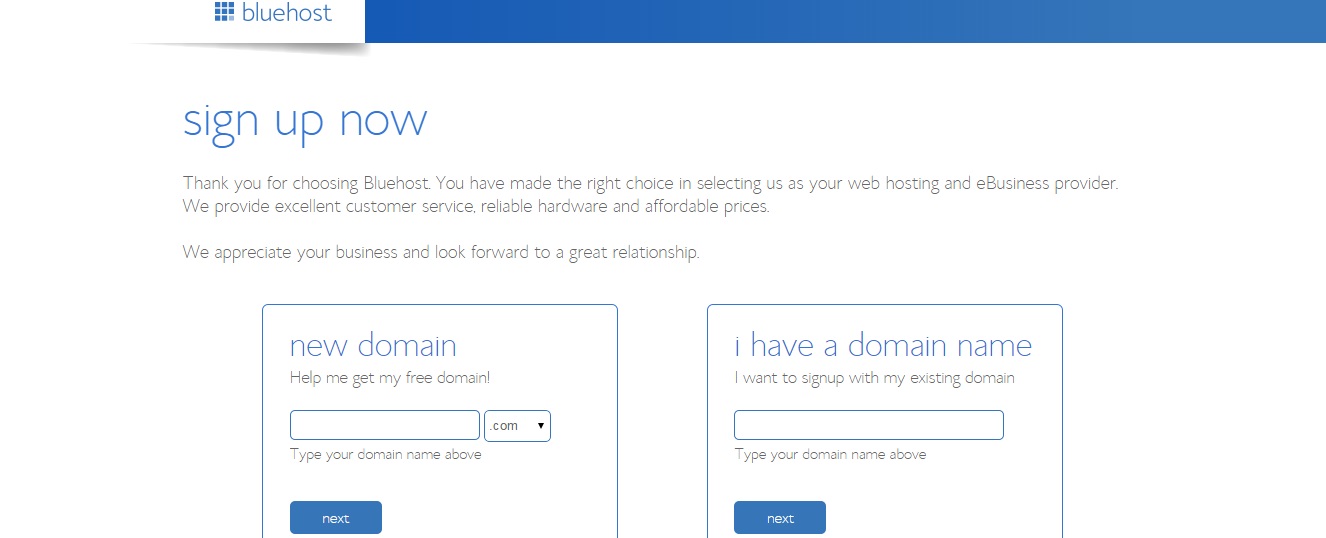
The first three on my list were already taken. HesterHandymanCincinnati.com is available but it looks a bit long and is not very memorable. TheCincinnatiHandyman.com is also available, and I like that it has both my city and service in it. It’s also shorter and will probably be easier for people to remember. So that’s the domain I’m going with.
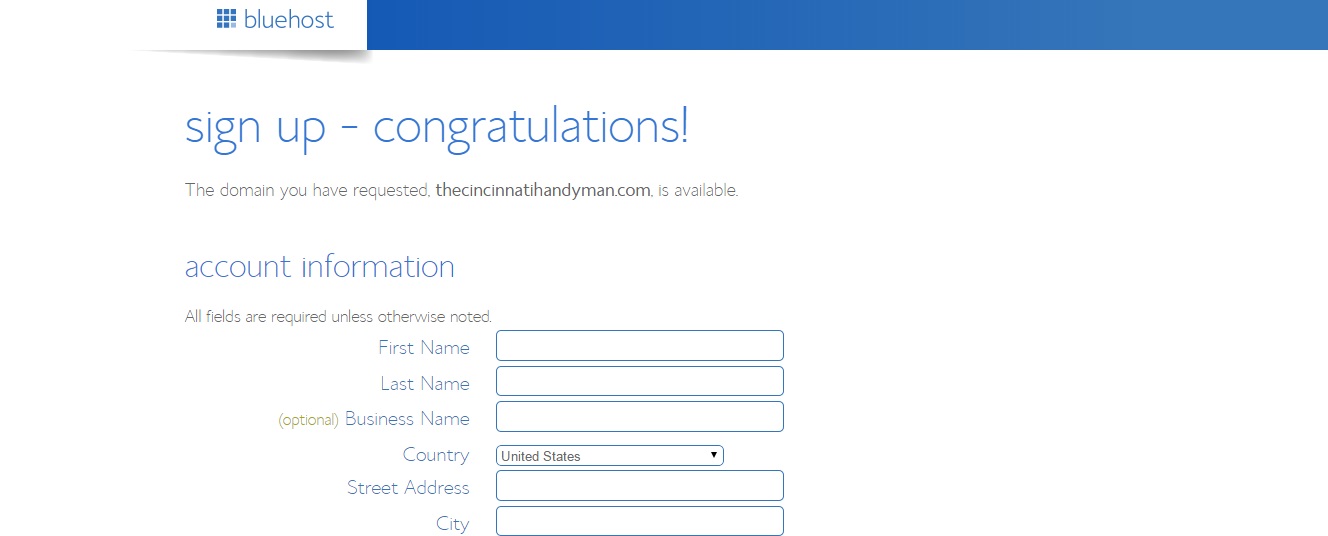
Step 5: Enter your account, package, and billing information. The top of the page will look something like this:
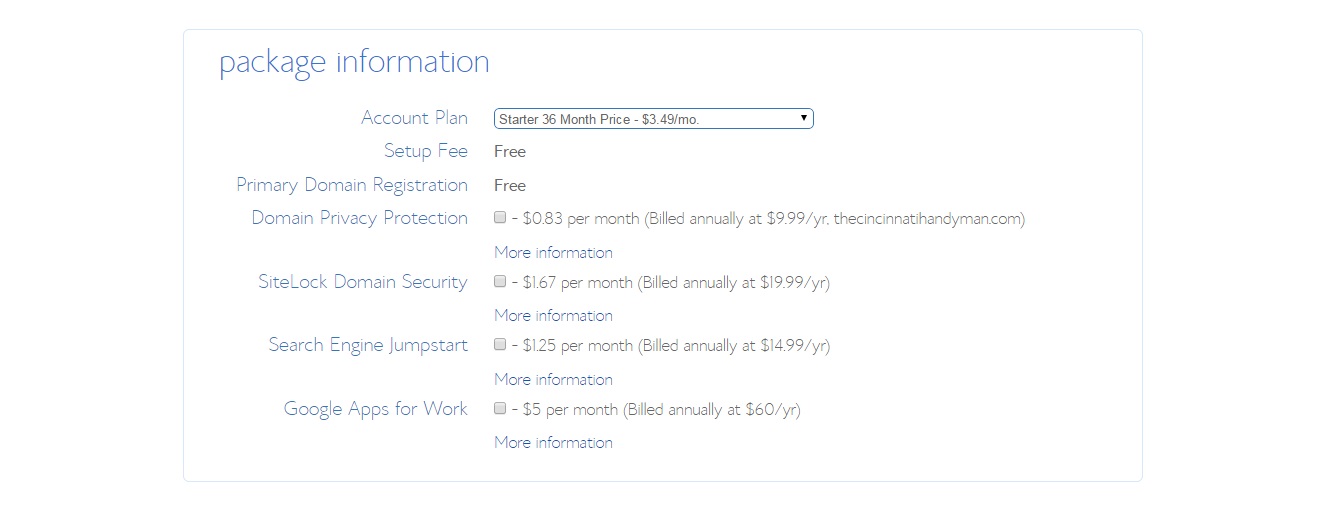
After you’ve entered your general account information you’ll be presented with package options to choose from. Select the plan from the drop-down menu that best suits your needs. There are other upgrades available here to choose from if you are so inclined. It just depends on what you want and your particular situation. As for me, I won’t be needing any of these so I unchecked all the boxes:
Finally, enter your billing information and click the green “next” button.
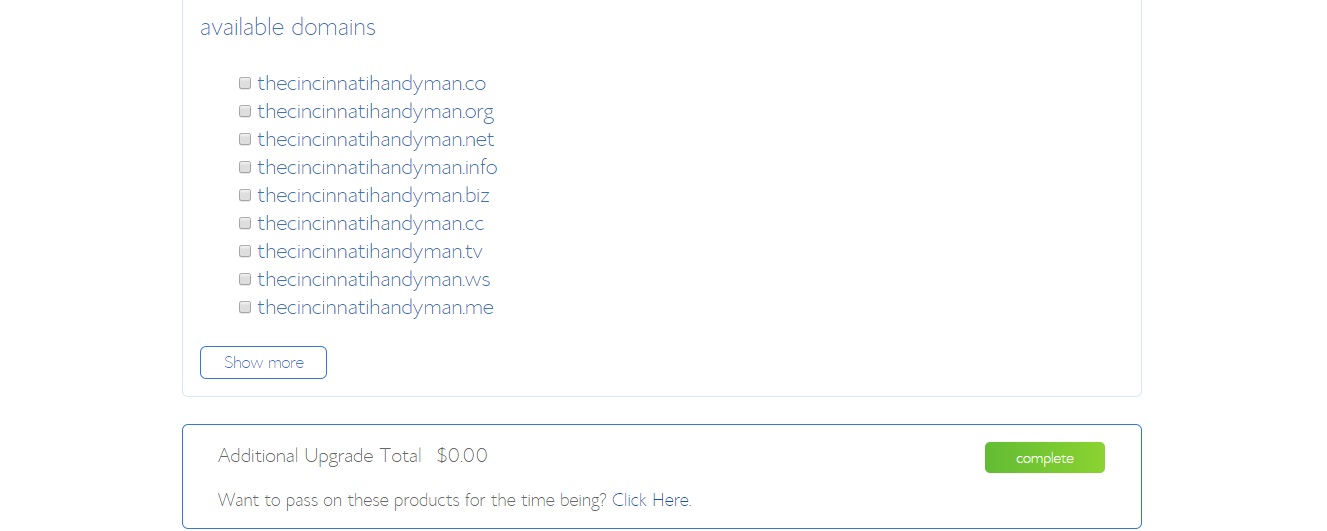
Step 6: You’ll be presented with a number of available upgrades for your account. You don’t need any of them, but if something looks useful to you then be my guest. I’ll be skipping them all and clicking the green “complete” button at the bottom of the page:
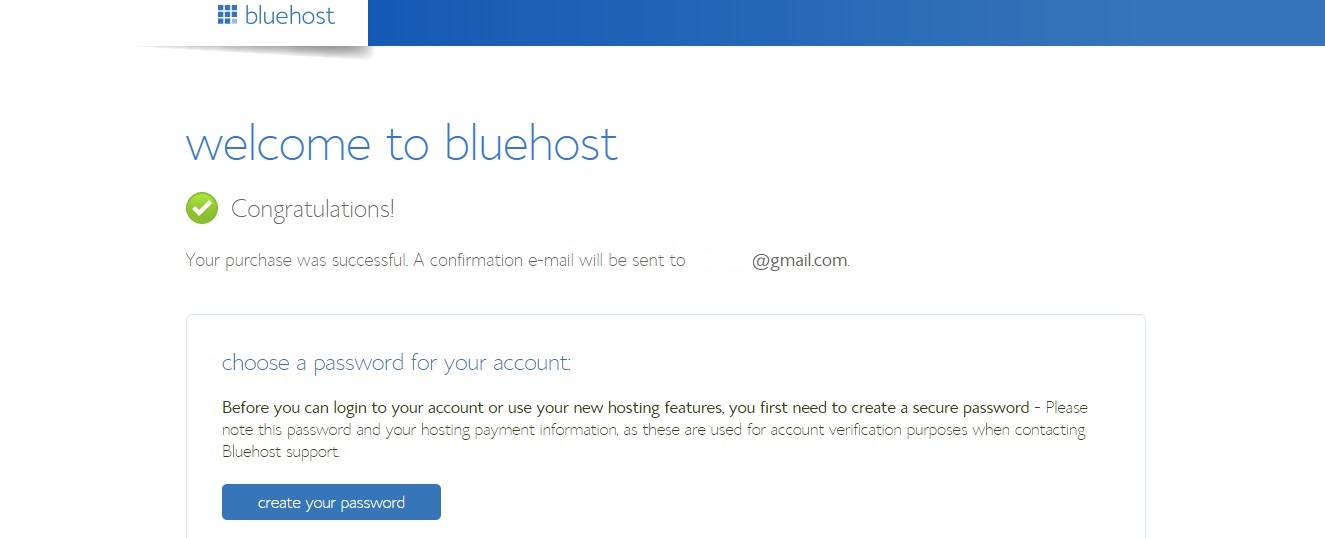
Step 7: Create an account password. First, click the blue button that says “create your password”:
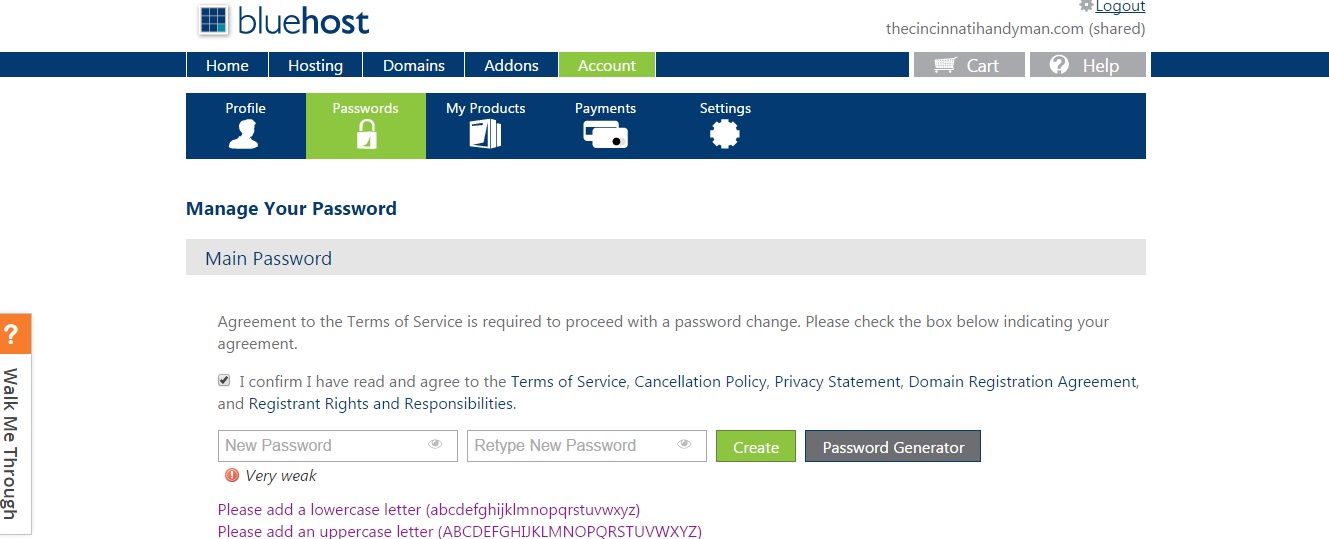
Now click the box that says you agree to the terms of service, choose a password, and click the green “create” button:
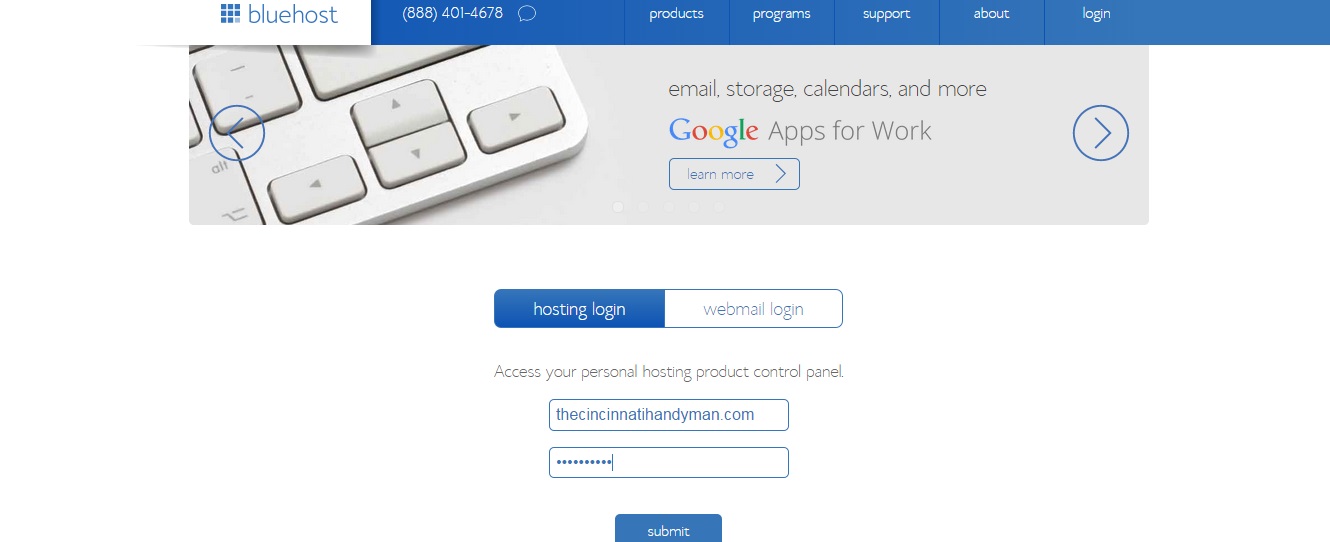
Step 8: Log in to your account. Use the password you just created and click the blue “submit” button:
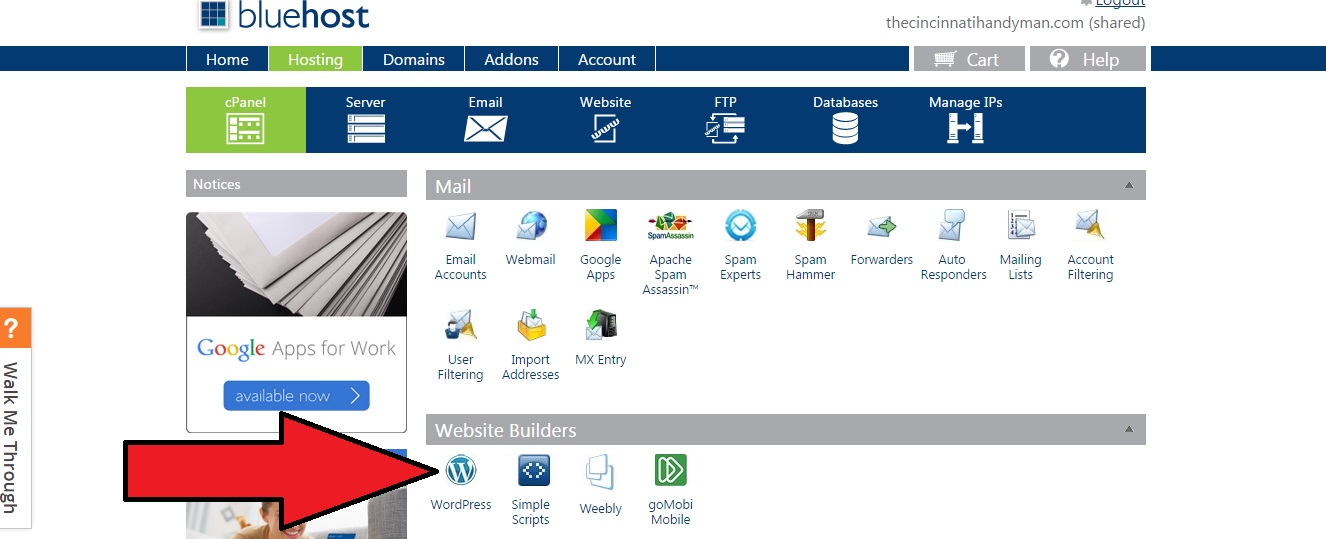
Step 9: Click the “Hosting” tab near the upper-left corner of the page:

Step 10: Click the “wordpress” icon under “website builders”:
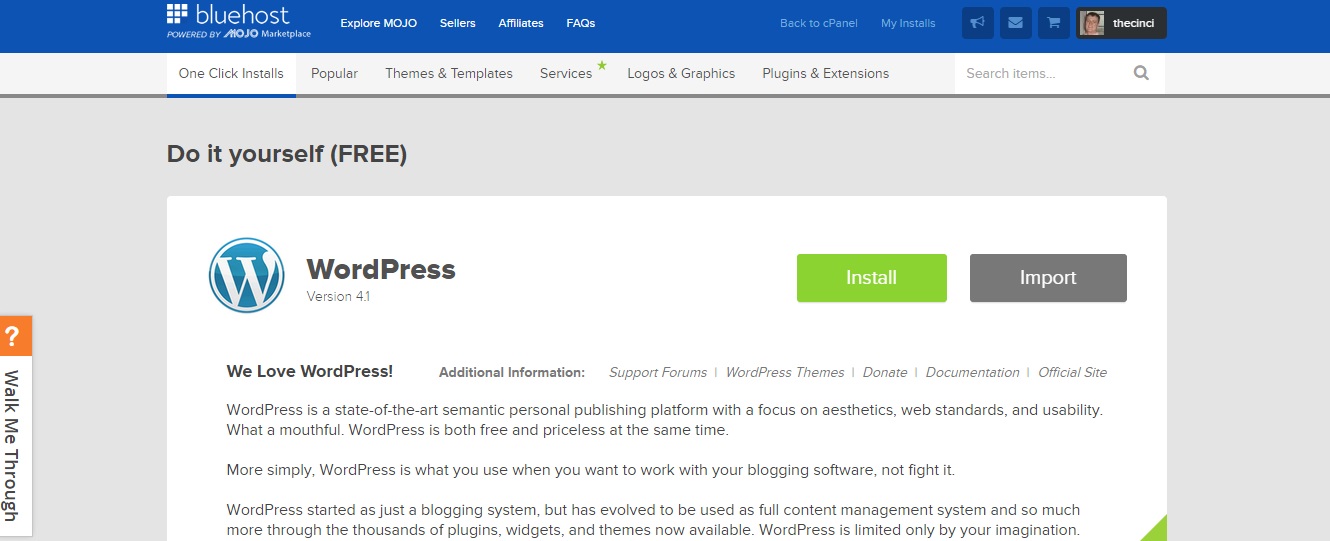
Step 11: Install WordPress. A new tab will open and you’ll be taken to a site called mojomarketplace.com. It should look similar to the image below. Click on the green “install” button:
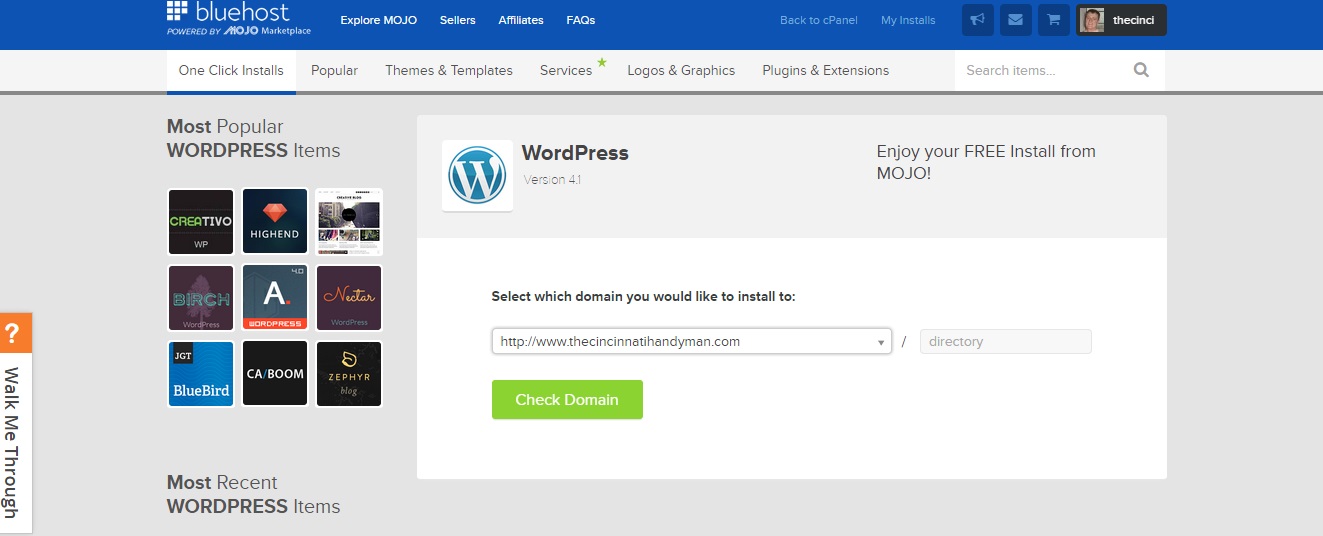
Step 12: Click the green button that says “Check Domain”. Don’t change anything in the dropdown menu! Just leave it alone and hit that green button:
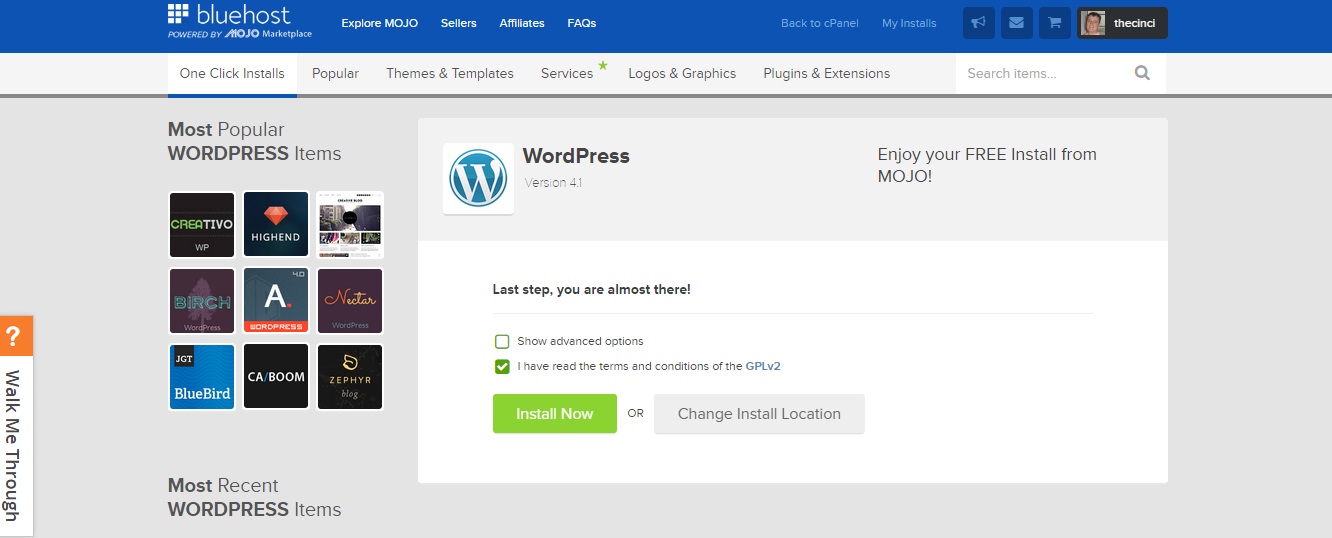
Step 13: Check the box to accept the terms and conditions and click the green “install now” button. You don’t need to check the “advanced options” box:
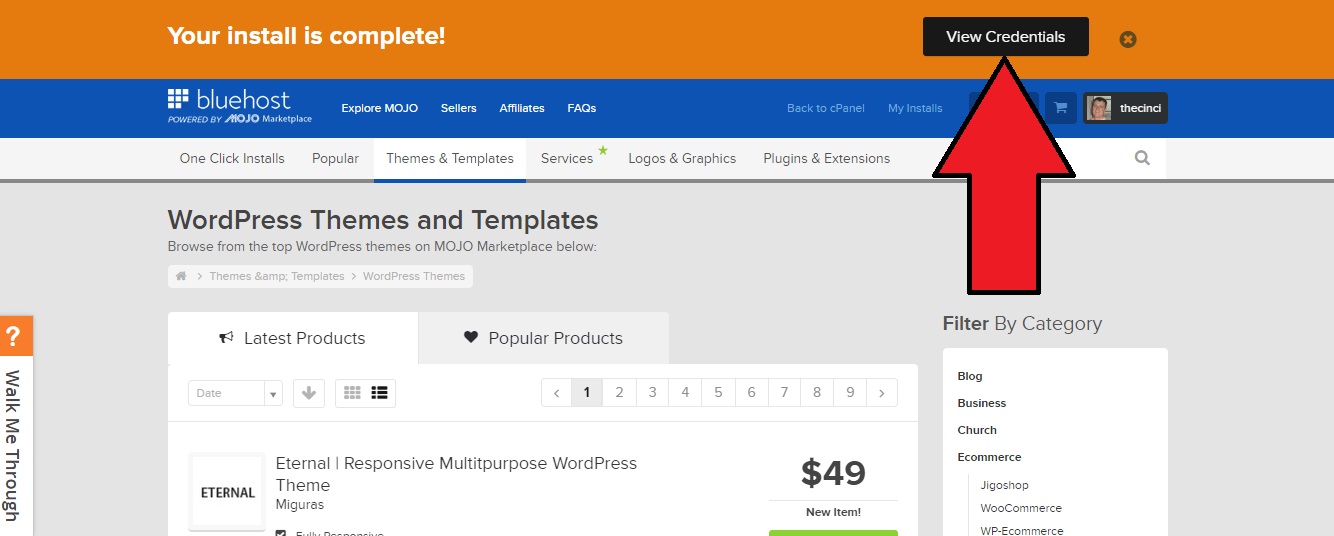
Step 14: Find your blog’s login credentials. Click the black box in the upper-right corner that says “View Credentials”:
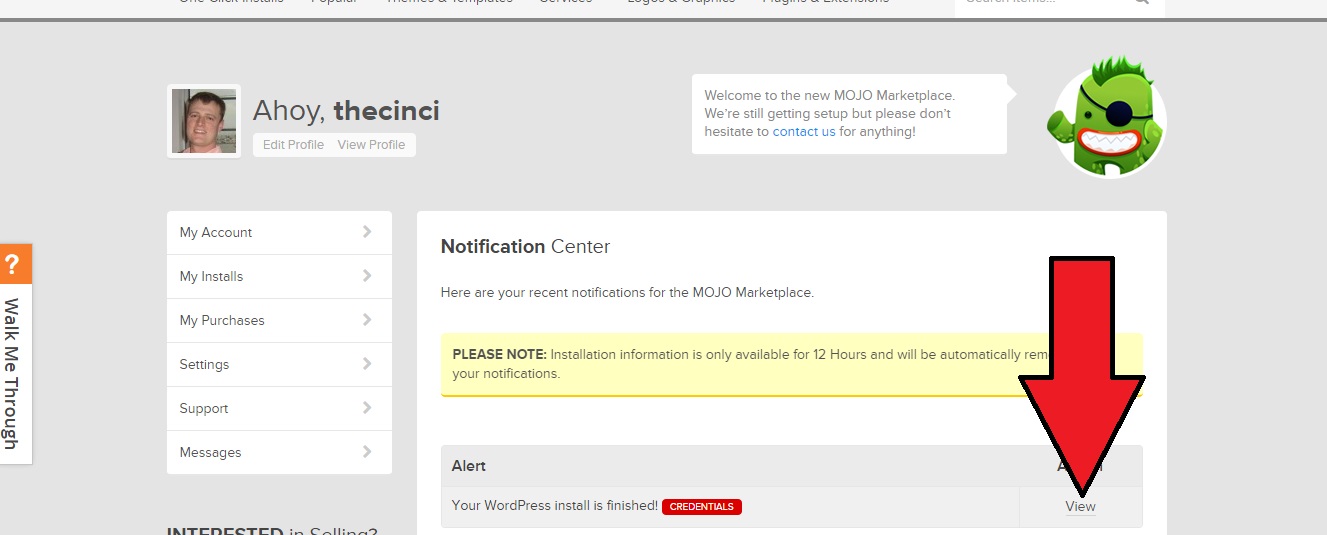
Next, scroll down a bit and click the link that says “View”:
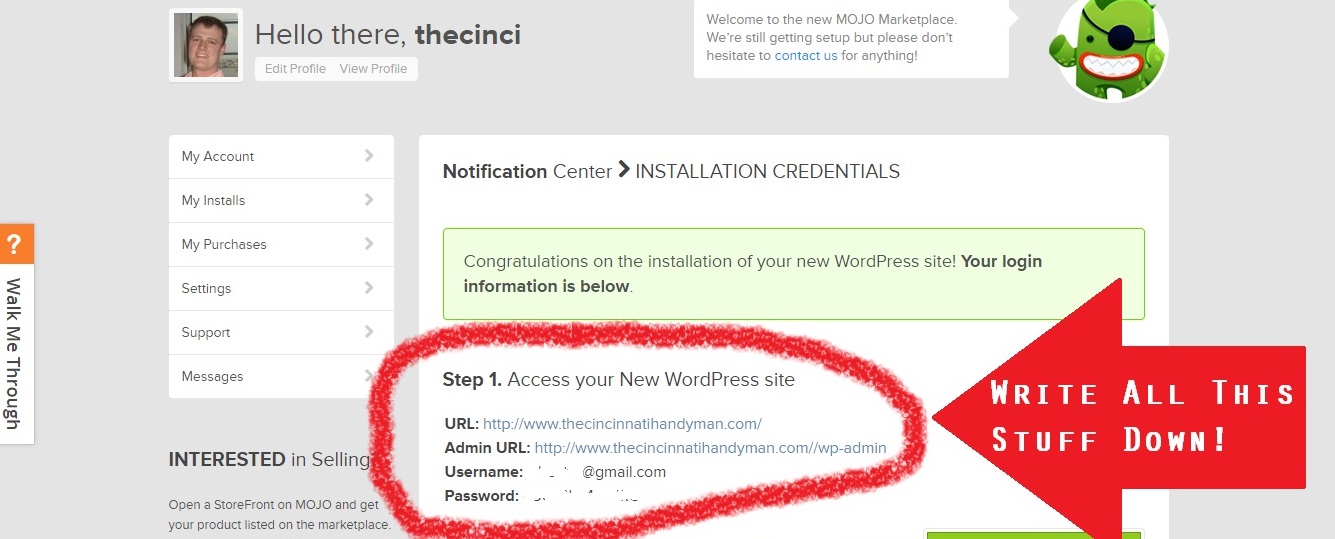
Now you’ll be shown your unique blog login credentials. This information is very important. Write it down or save it in a protected spreadsheet!
Your blog setup is now finished. Woo hoo! If you had any problems along the way or need help getting this set up just contact me – I’d love to help!
Next step: Pick A Theme, Configure WordPress, and Start Writing!
Please Note: Some of the links above are affiliate links that will provide me a commission (at no additional cost to you). I am not recommending these products and services because of the commission I would earn but rather because I know they are helpful and are companies that I find to be competent and trustworthy.
 My name is Jeff and I created this blog in 2007 to help and inspire contractors and home service providers. It’s come a long way since then.